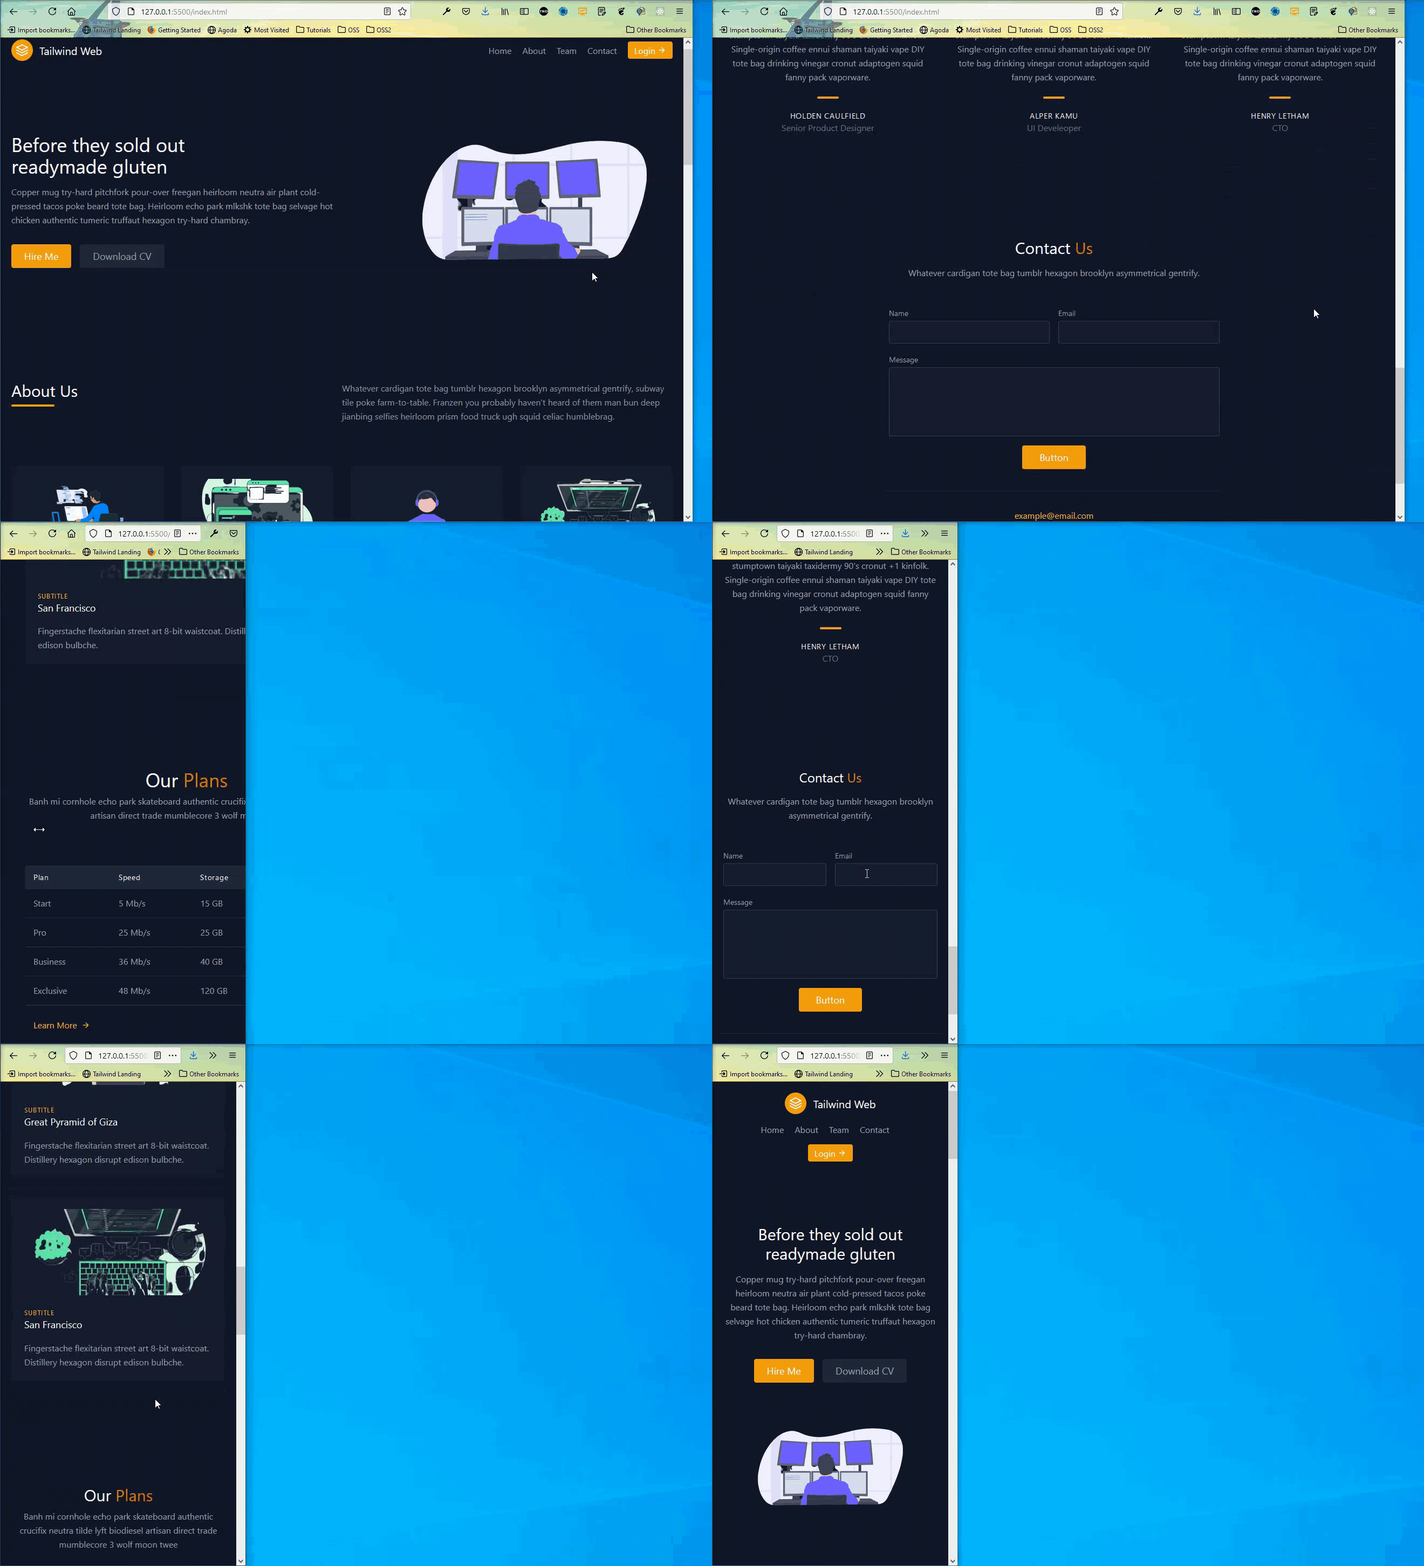
Build Responsive website with Tailwind CSS in 10 mins

In this post, we are going to quickly build a responsive tailwind site, using awesome ready to use tailwind components.
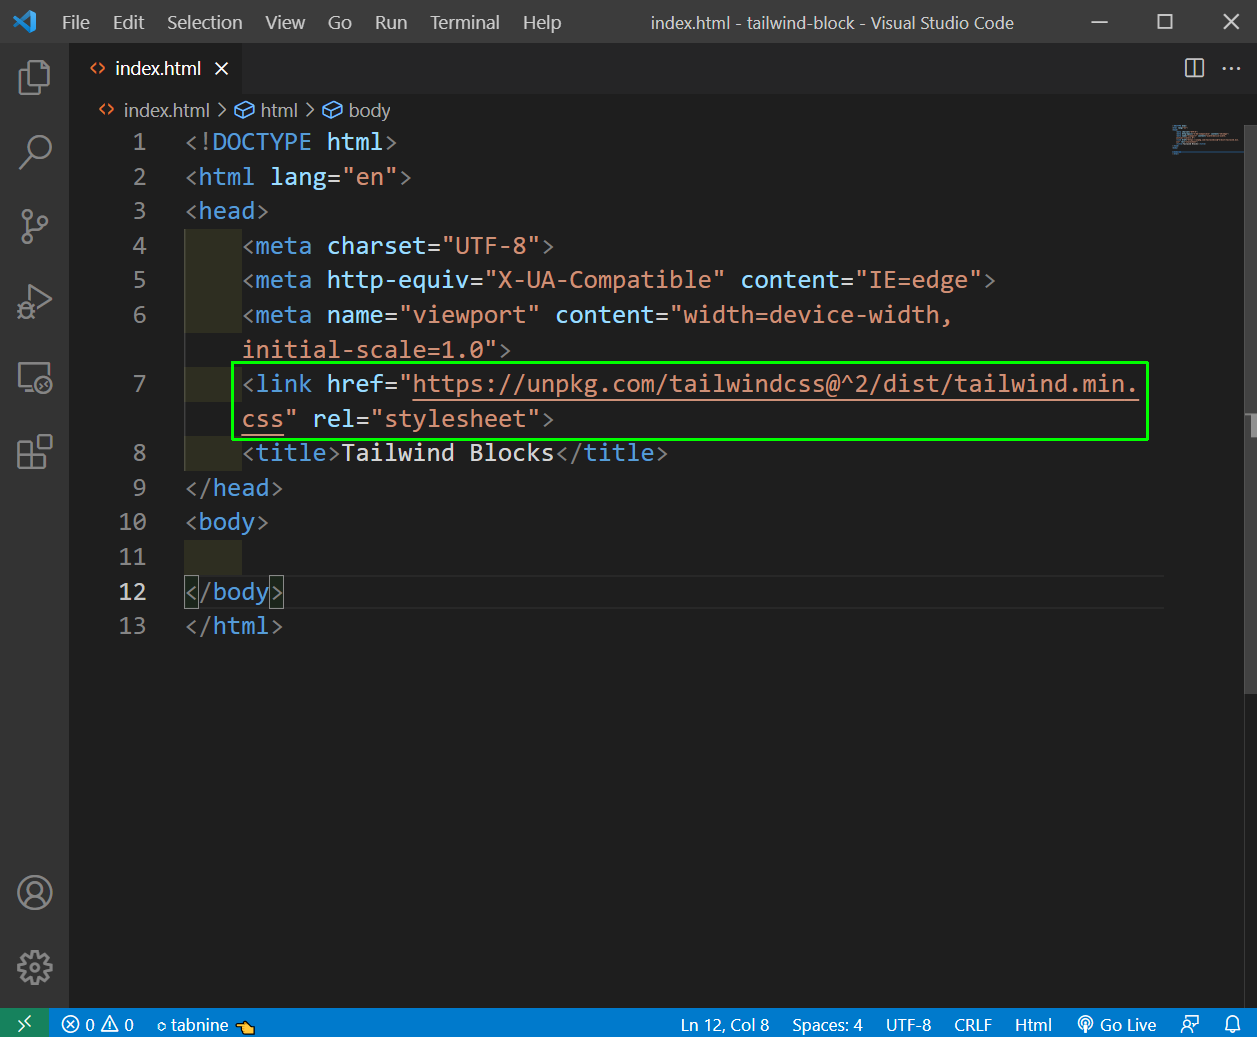
Now, create a basic html structure in VS Code using the shortcut ! and press tab. After that we are adding the tailwind css CDN link, which we have got from tailwind site.
We are going to get ready made blocks for our site, from the awesome site Tailwind blocks. The link for it is https://tailblocks.cc/
Now, there are different sections in the site and we will create the header first. So, scroll down a bit and choose the first header. I have chosen the yellow color, but any other color can be selected.
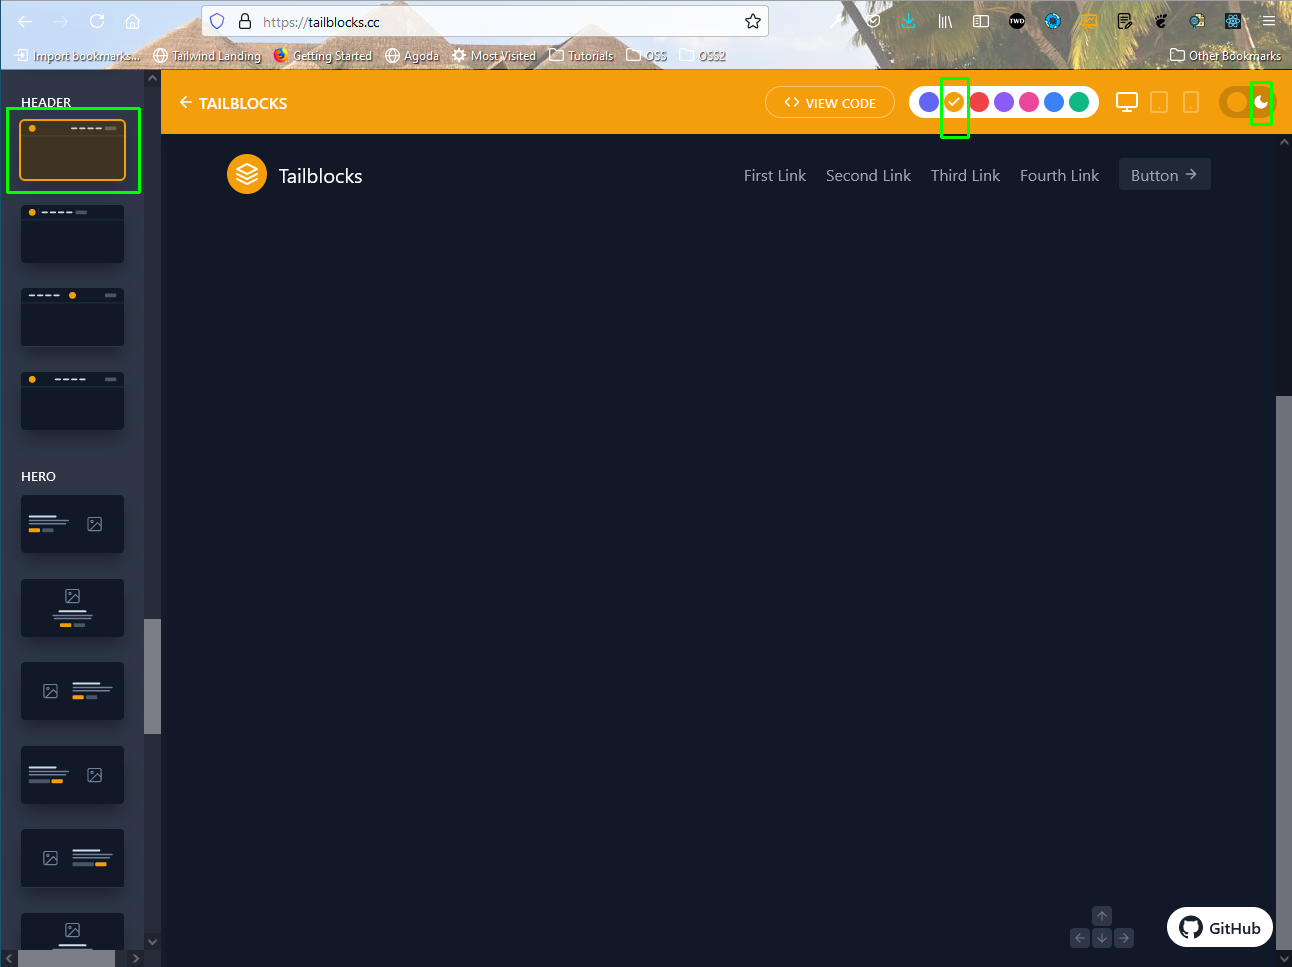
Clicking on the View Code, will give you the code which you need to put in the index.html, inside the body tag.
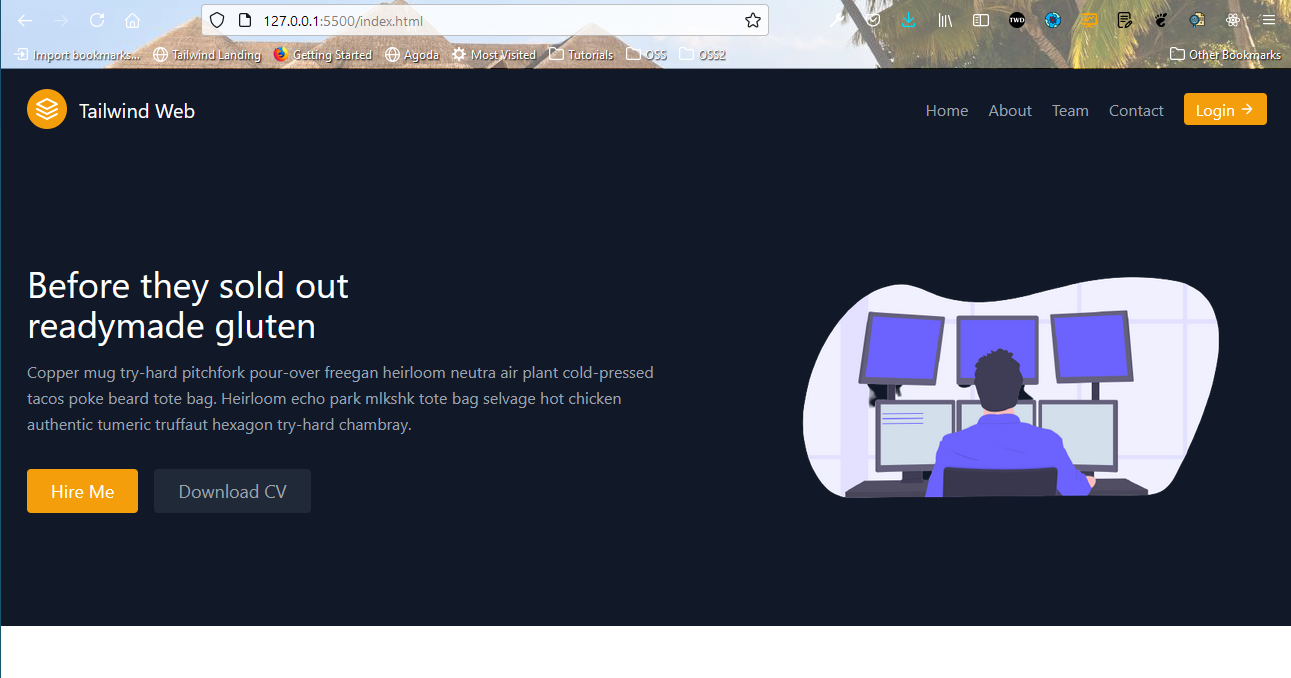
After, putting the header code, our site looks like below. I have also noticed that it is dark and the reason is that i have choose dark theme in Tailwind Block site.

Now, we will do a bit of customization in the header, by changing the color of the button and the content of the links.

Now, we will create the Hero image part. So, go to the Hero section and choose the first one. We need to click on View Code and then COPY TO CLIPBOARD link.

We need to paste it below our header section, but the main thing is the image. Now, i got the vector image from https://undraw.co/search site and also removed it’s background from https://www.remove.bg
After that created a new images folder in our project and put the image in it.

Now, our site looks like below.
Now, we will create the About Us section. For this go to the CONTENT section and choose the second one and View Code and Copy to Clipboard as usual.
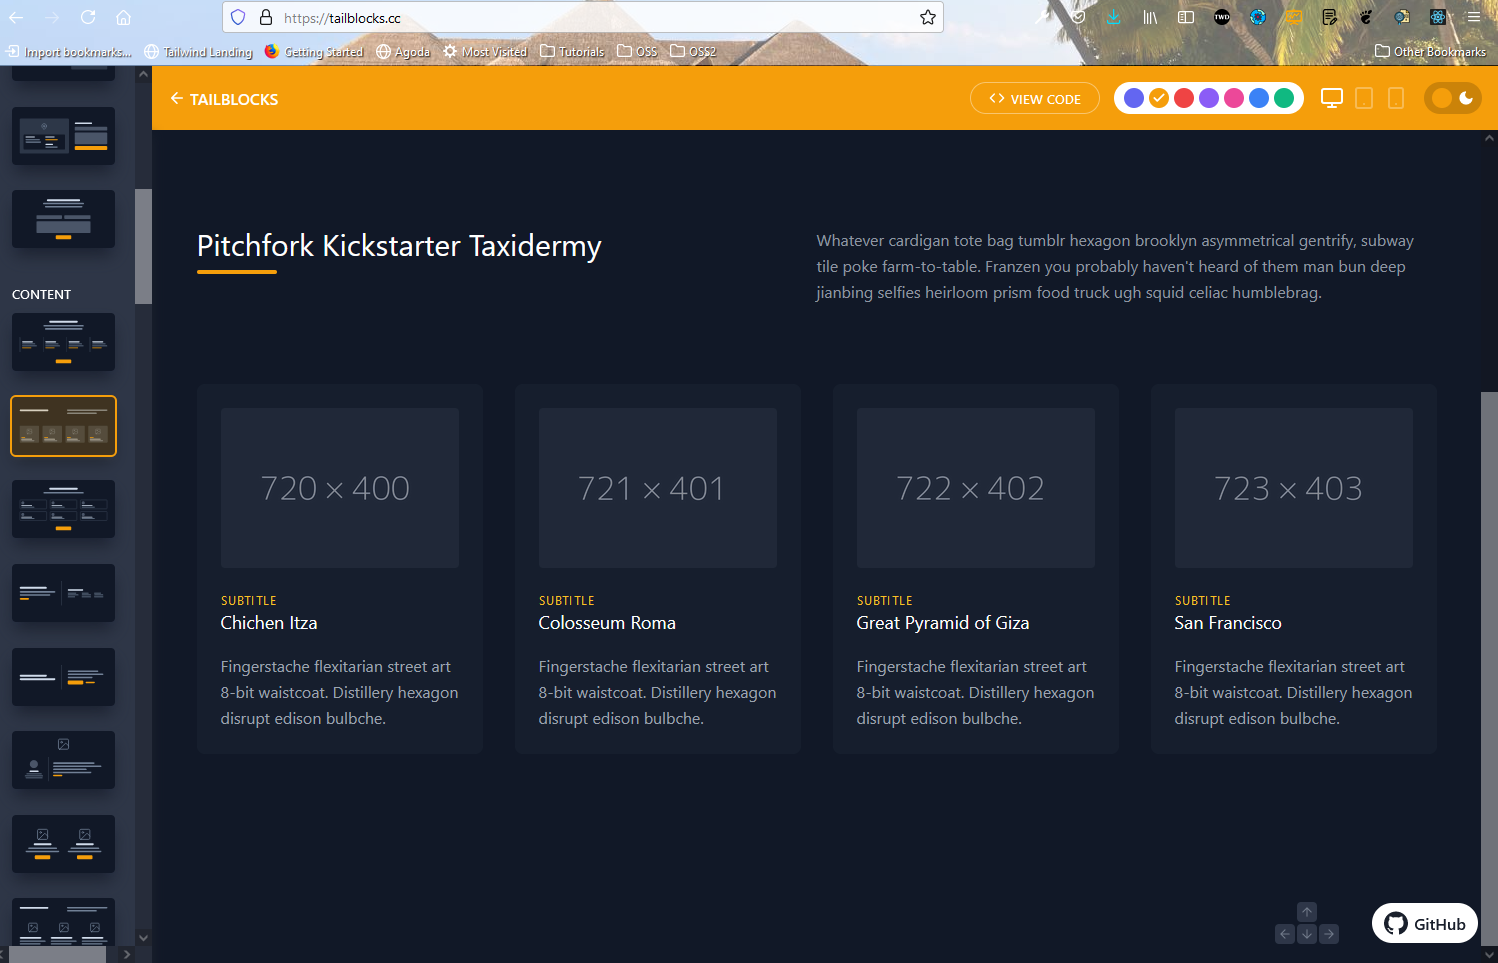
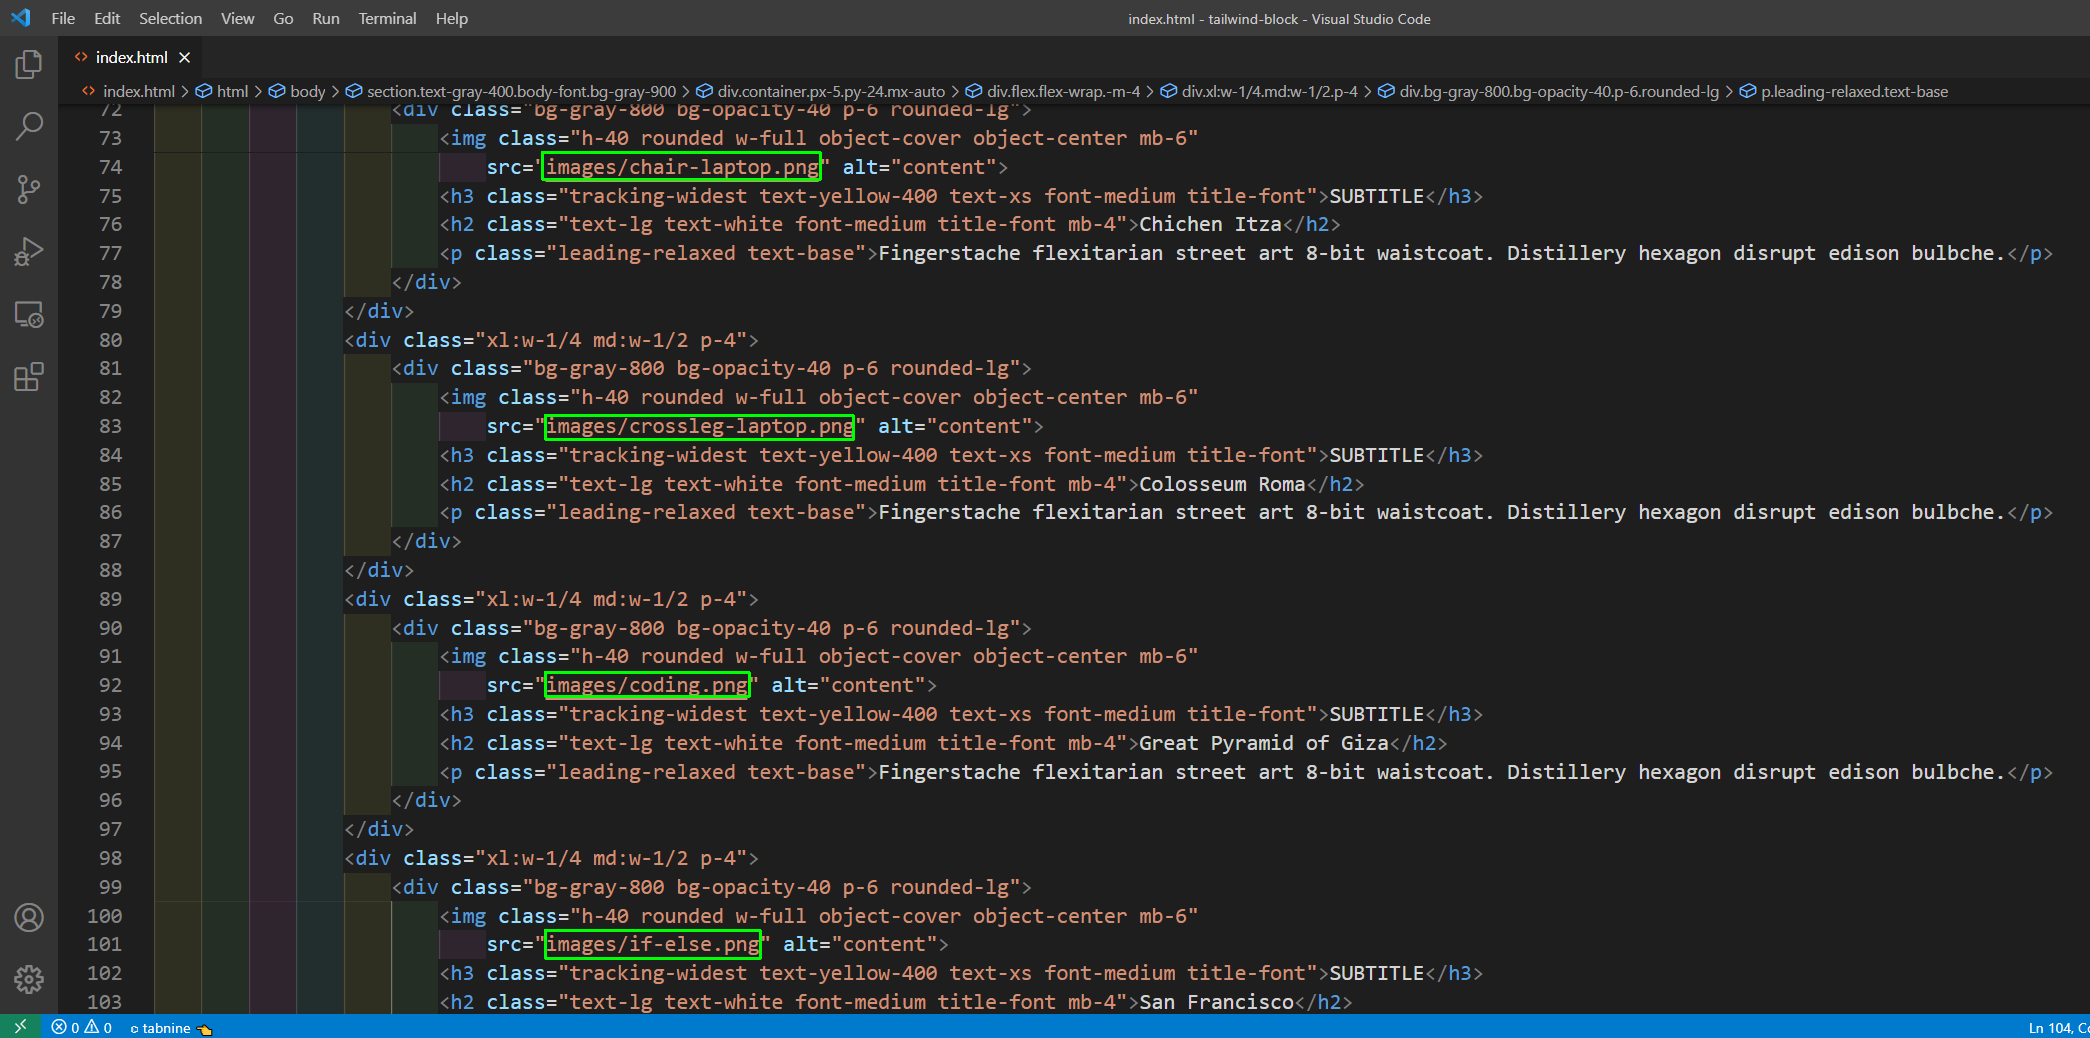
We have pasted this code after the earlier section. Again in this section, we have four images, so got those vector images and removed background and uploaded it to images folder.
Now, our About Us section looks like below.

Now, we will add our pricing section.

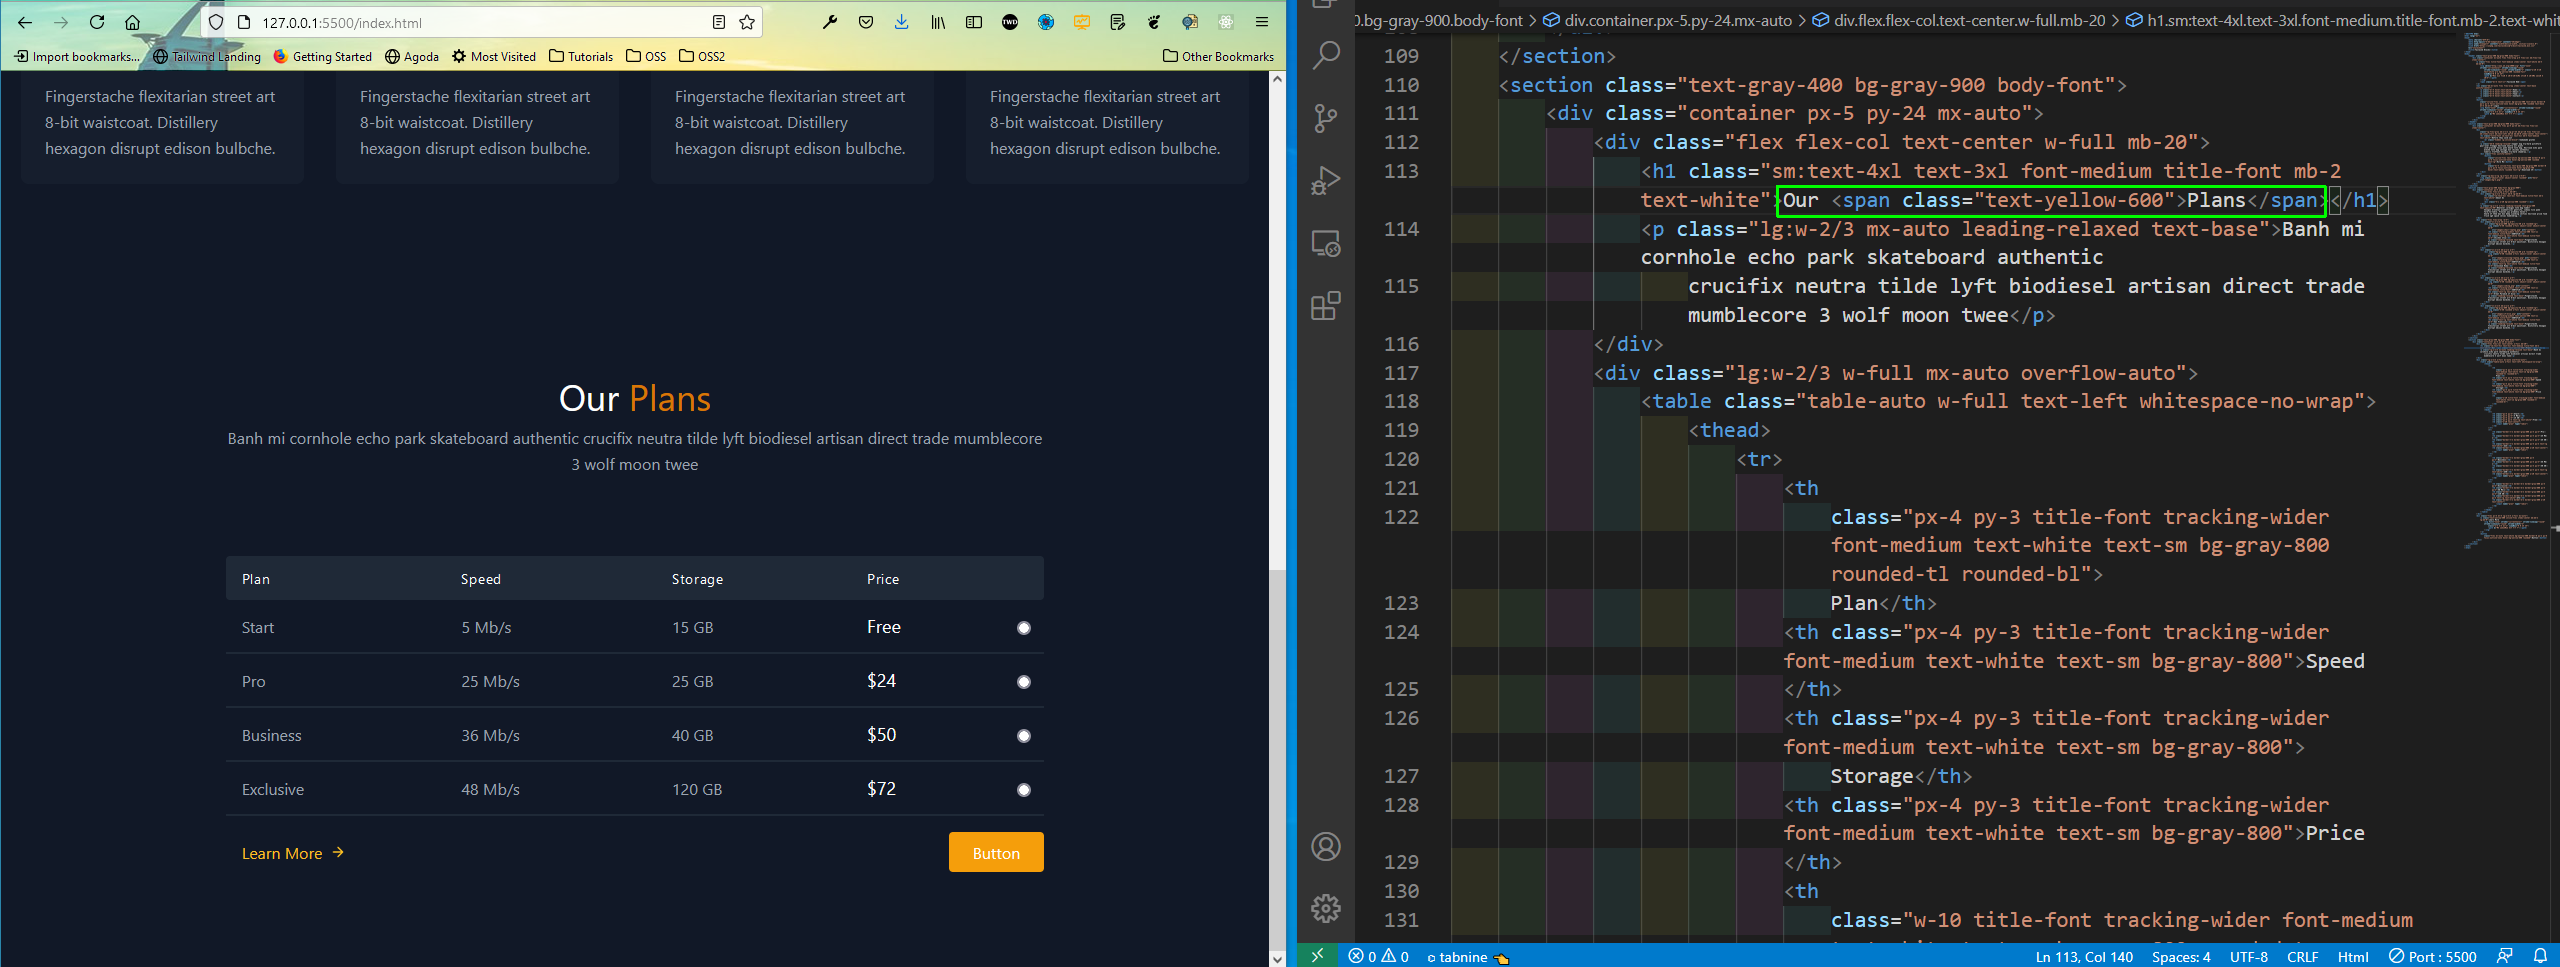
We have just changed the header text in the pricing and our Pricing section is also looking good.
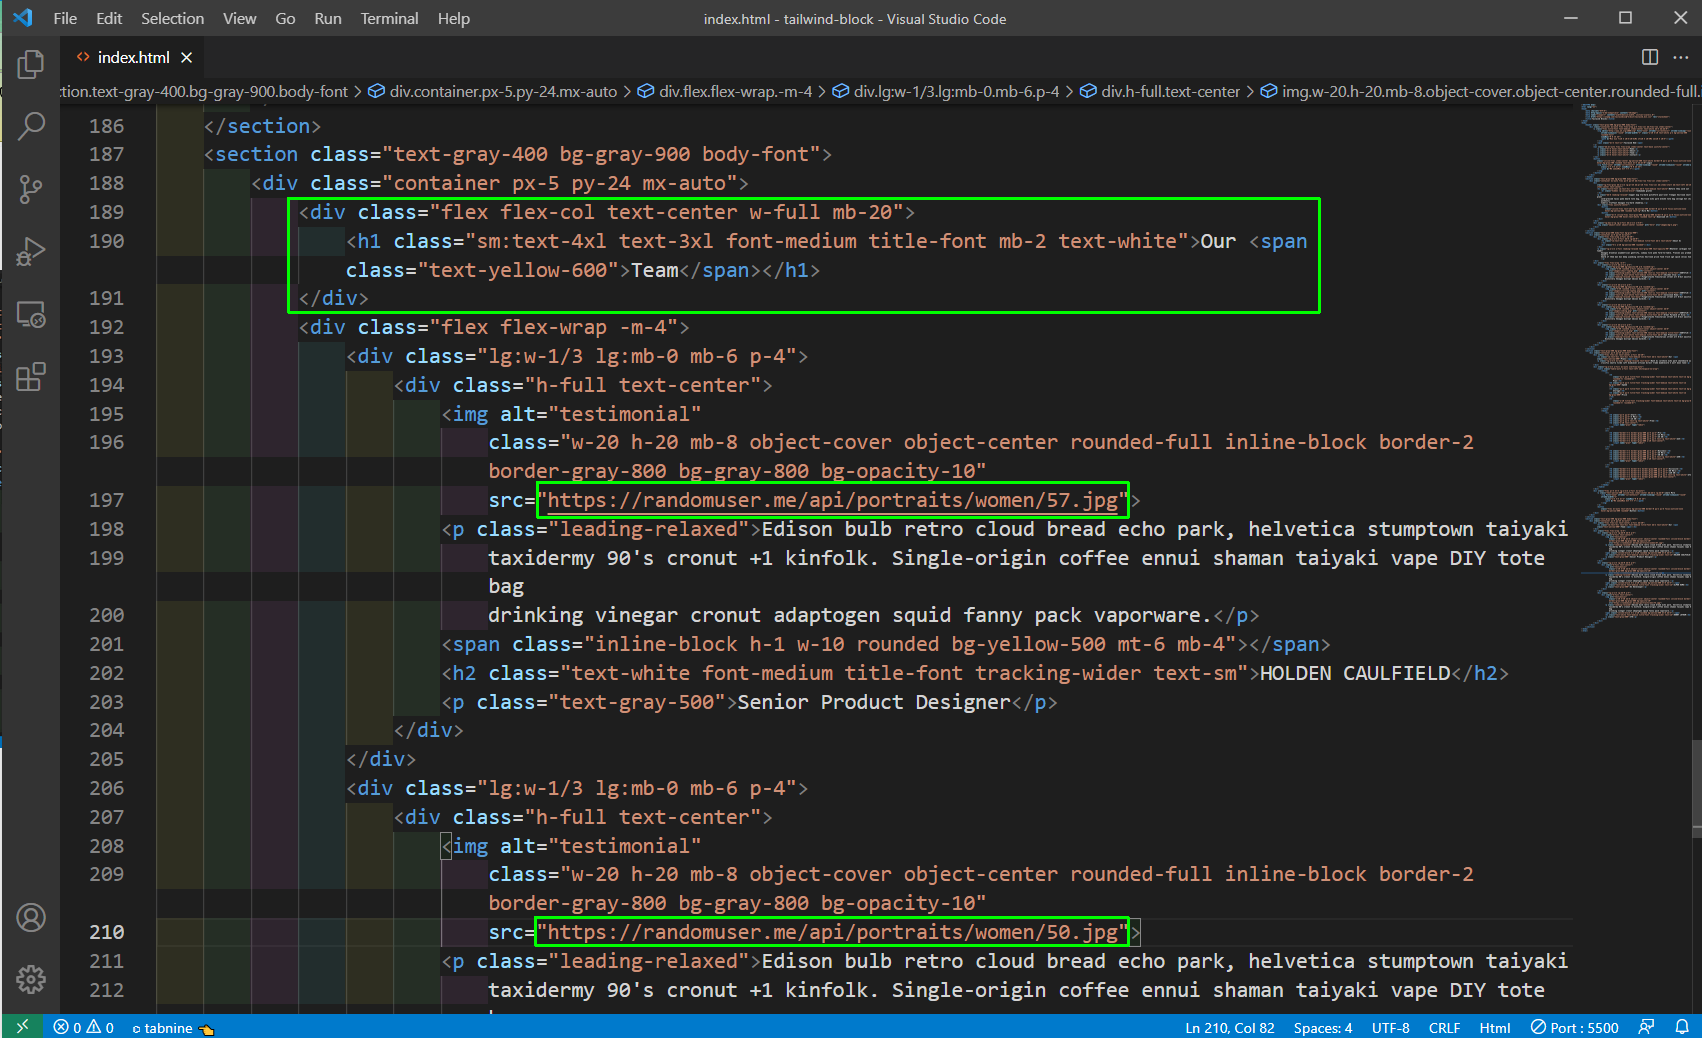
Now, we will add the Our Team section. For this go to the Testimonial, in the tailblock site and choose the third one.

Now, this code didn’t had any header so i created one. For image of user, i have taken from the random user site. We can choose any images from https://randomuser.me/photos
Now, the Our Team section looks like below.

Now, we will create our Contact Us section. For this go to the Contact, in the tailblock site and choose the third one.
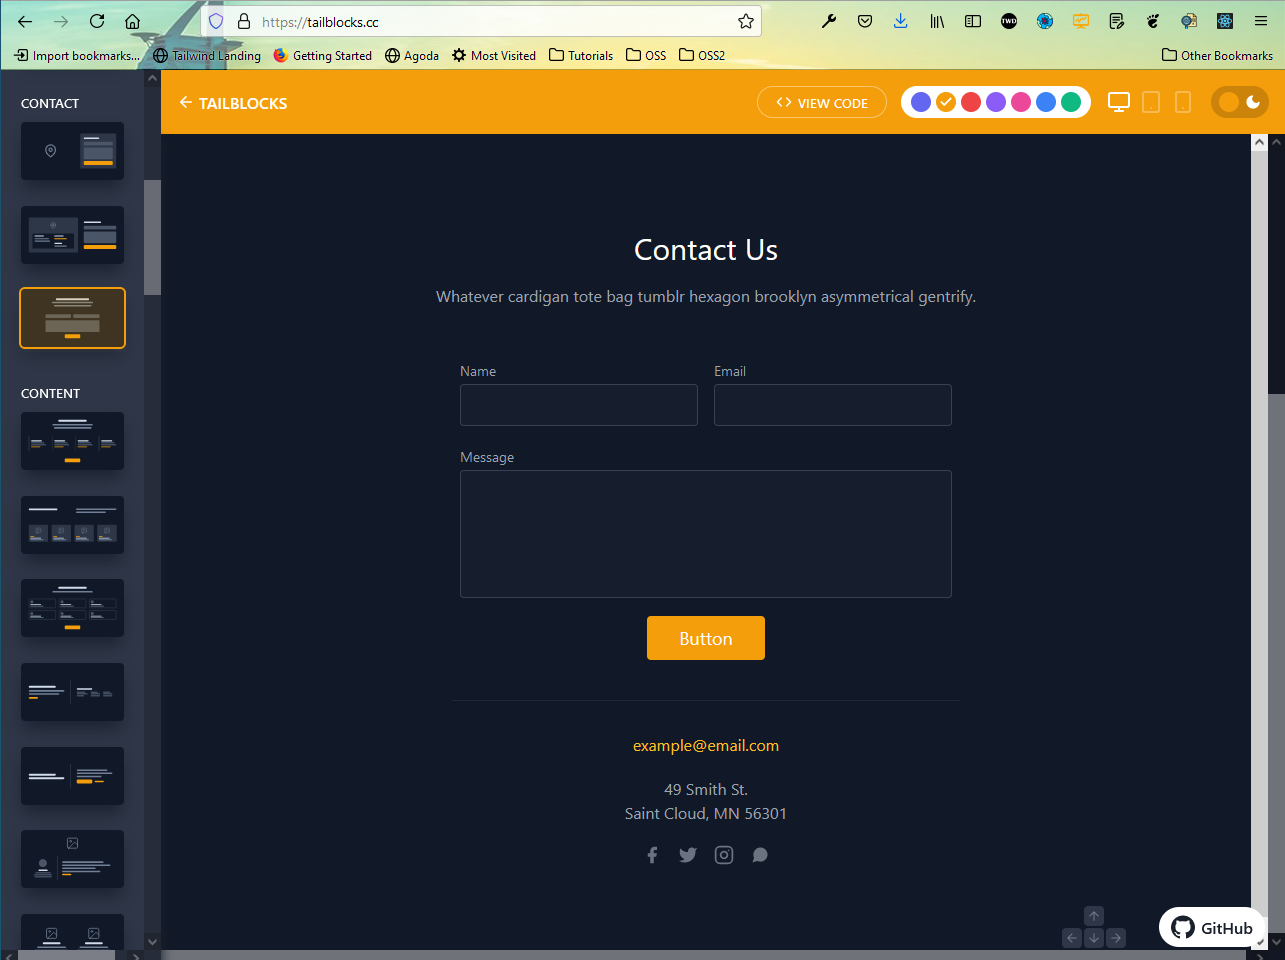
We only need to do a small change in the code and make the Us in Contact as Yellow. Also, notice that the Contact Us section also contains a small footer, which looks awesome and minimalist.

This completes our site. The code for the same can be taken from this github link.
